Chalk painting is an easy, affordable and fun way to transform furniture at home. And yes, you can chalk paint fabric as well. In this post, I’m going to show you the transformation of stained worn antique chairs into dramatic beautiful statement pieces.
Refinishing furniture can add to the beauty and aesthetics of your home, while keeping things practical and affordable. Some of those methods, such as upholstering, require more skill. Other things, such as paint, require less.
If you’re like me, you want quick gratification when it comes to refinishing a piece of furniture. You may also be on a budget and need it to be inexpensive. Which is where paint of course comes in.
The Chalk Painted Chairs
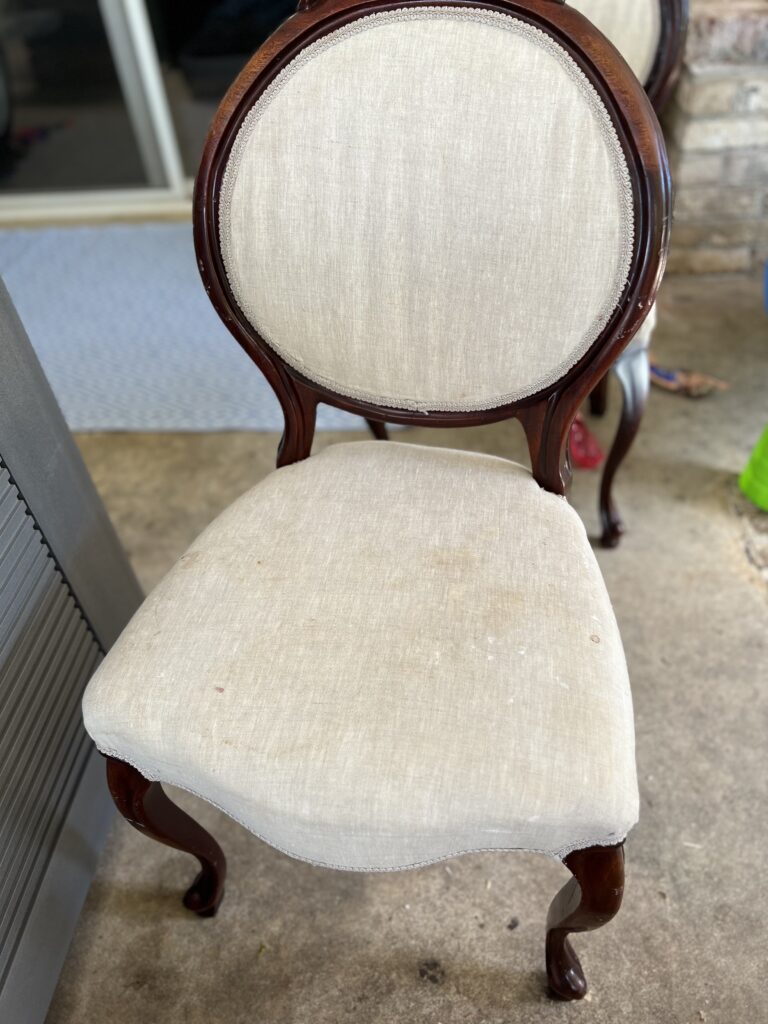
These chairs I originally purchased on Facebook Marketplace several years ago. They had been newly refinished but between stains and a toddler, the light colored fabric didn’t hold up. I also wasn’t in love with the wood color.
The Chalk Painted Chair Style
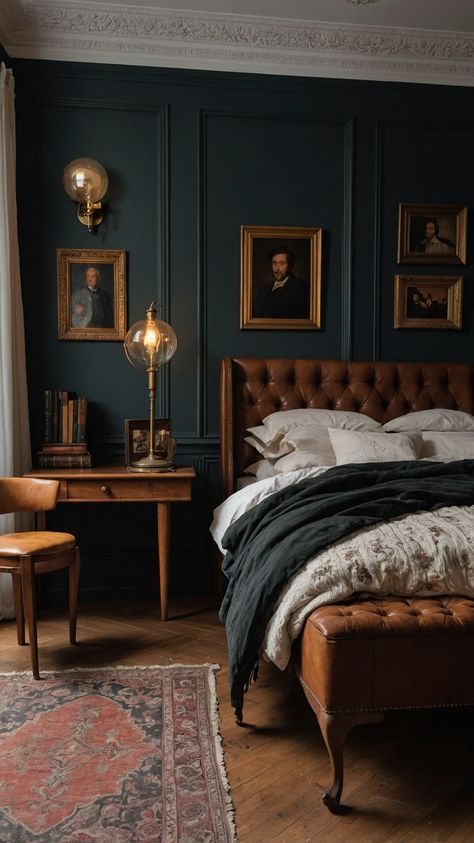
Right now dark academia is a trending aesthetic. It features moody, sophisticated, romantic, dark, and mysterious pieces. Inspiration is drawn from classic subjects such as science, botany, and literature. Pieces tend to have more classic lines rather than modern. Incorporated in dark academia are small touches such as books, maps, drawings, glasses. Think of an 1800’s Cambridge professor’s office, if the professor were into a little witchcraft.

The Chair Chalk Paint Makeover
For this chalk painted chair makeover, I went with a dark academia theme featuring black on the fabric and a sexy dark green with subtle black undertones.
- I started off by first lightly sanding the wood. I used 280 grit fine sandpaper. While you do not have to sand with chalk paint, I do find it still works better.
- I first painted the wood on the chairs green using a standard paint brush. For the tiny edges up close to the fabric piping I used a tiny craft brush.
- After painting the wood I mixed up my black chalk paint and painted the fabric. In the past I have first sprayed the fabric with water before painting. I honestly forgot I did that with this makeover. It was a little stiffer on this project in the past but still turned out. You’ll probably want 2 coats of paint.
- Lightly sand and wipe the fabric between coats
- Finish with furniture wax
- Allow the furniture 24 hours before use and a full week to cure
What Paint Should You Use For Furniture Chalk Paint Makeover
Over the years I have used ready made chalk paint from Annie Sloan and Sherwin Williams, and I’ve mixed my own. I don’t see a huge difference, and for a tight budget, homemade works well. You can also use leftover paint you have on hand like I did.
For the paint, I purchased a paint sample from Lowes for less than $5, and mixed my own chalk paint with water and Plaster of Paris.
The green is and the black is
Chalk paint recipes do not actually have to be that exact for a project like this, so if you fudge it a little bit that’s okay.
My Simple Chalk Paint Recipe:
½ cup of latex paint in any finish
1 1/2 tsp Plaster of Paris
2 tsp of water. For the water add more if it feels too thick. You want the paint to be slightly runny.
Mix the water and Plaster of Paris together first. Pour in the paint. Mix well and you’re ready to go!
Chalk Painting Tips
When it comes to chalk painting a piece of furniture, you’ll need several coats. The first one always looks the worst, so persevere.
Be sure to let your paint fully dry in between coats. On the wood surface, you can go as short as an hour between coats.
For the fabric, you may want to add a little more water to your chalk paint mixture so that it is fairly runny. Be sure to dip off extra paint so you don’t get paint on the wood. If you do, you can simply touch it up after you’re done.
First, spray your fabric with water so that it absorbs the paint. You want it to sink in rather than sitting on top. Let your fabric fully dry between coats. Sand very lightly and wipe. Then repeat another one to two times as necessary.
Finally, wax at the end. You’ll wax your fabric and the wood. After the wax has set for 20 or more minutes, gently buff and wipe with a soft cloth. If the fabric feels too stiff go ahead and do a second coat of wax. Ideally it should feel a little bit like leather.
Using different wax color finishes such as clear, white or dark wax will influence the look. A clear wax like I used from Minwax in this project keeps the colors true. A white wax will add more of a coastal or country look to your piece. A dark wax is going to add more of a weathered and even dramatic look.
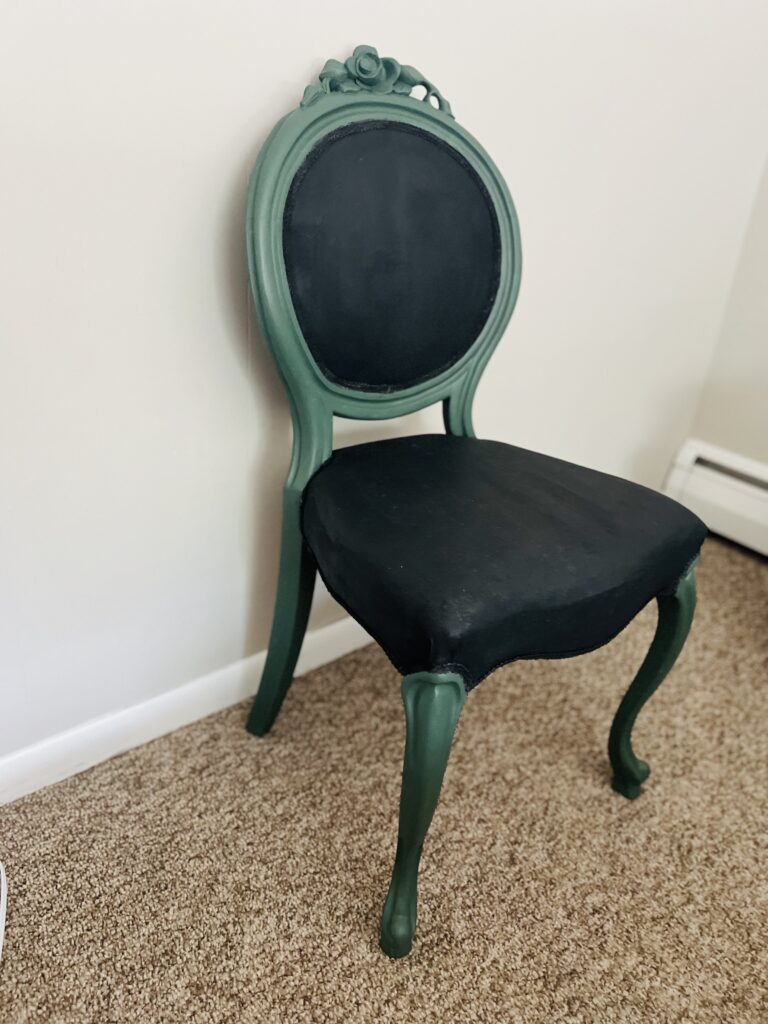
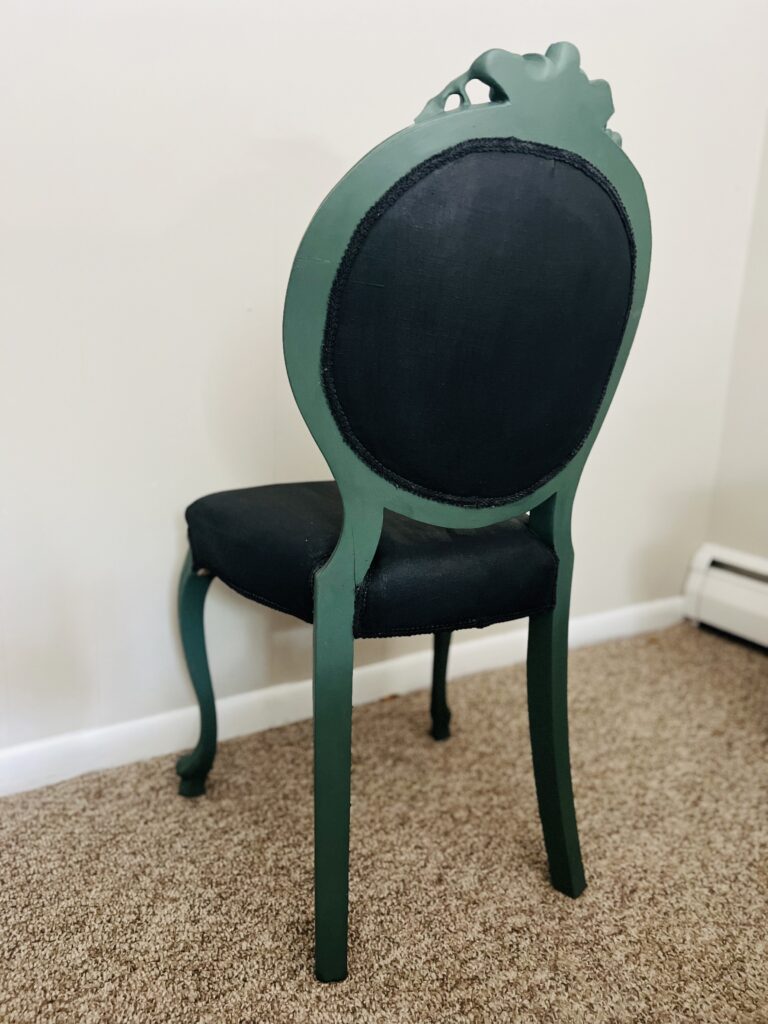
Whatever piece you are doing, changing the colors and wax finishes allows you to play with the feel. So go have fun and switch up your piece!
With Love,
Kaitlyn
